To Add an IMAP account to your Android Device
1. Open up your App menu on your device and find
Settings 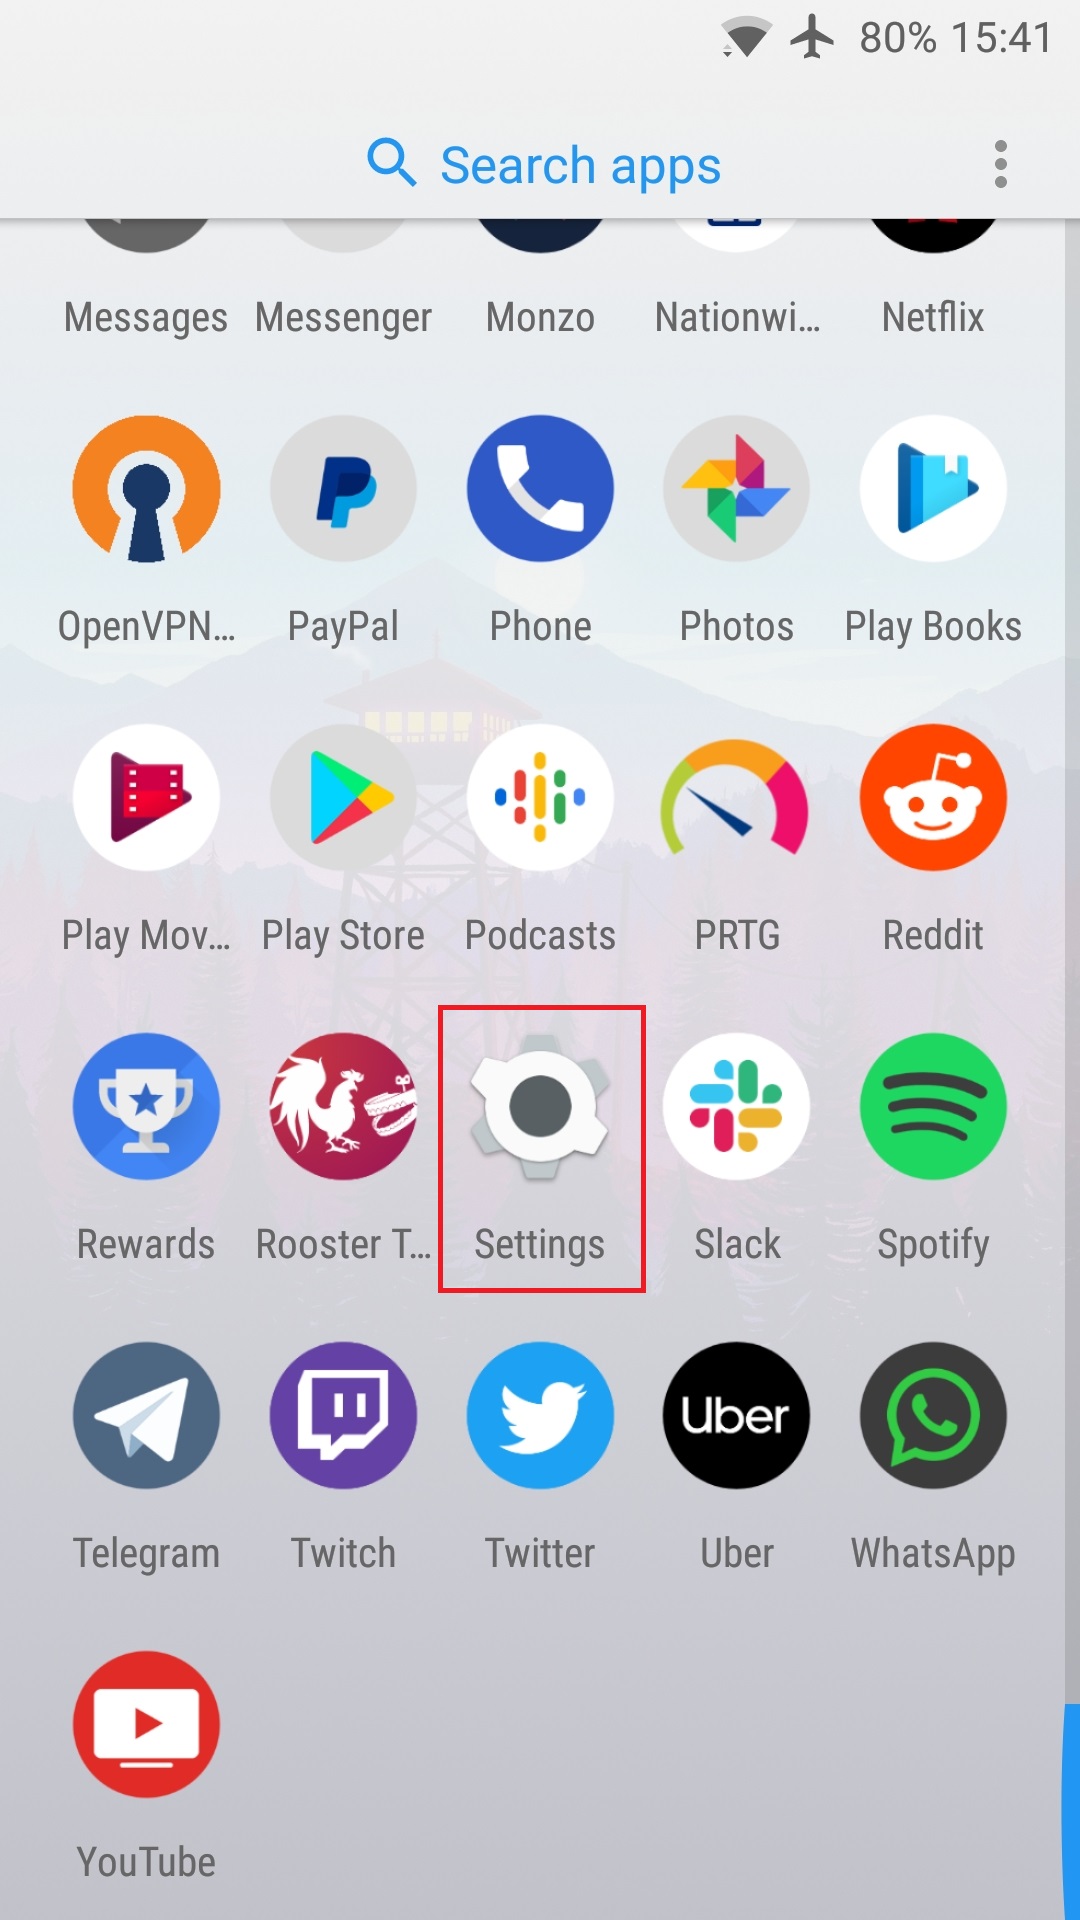
2. Scroll down your settings and tap on
Accounts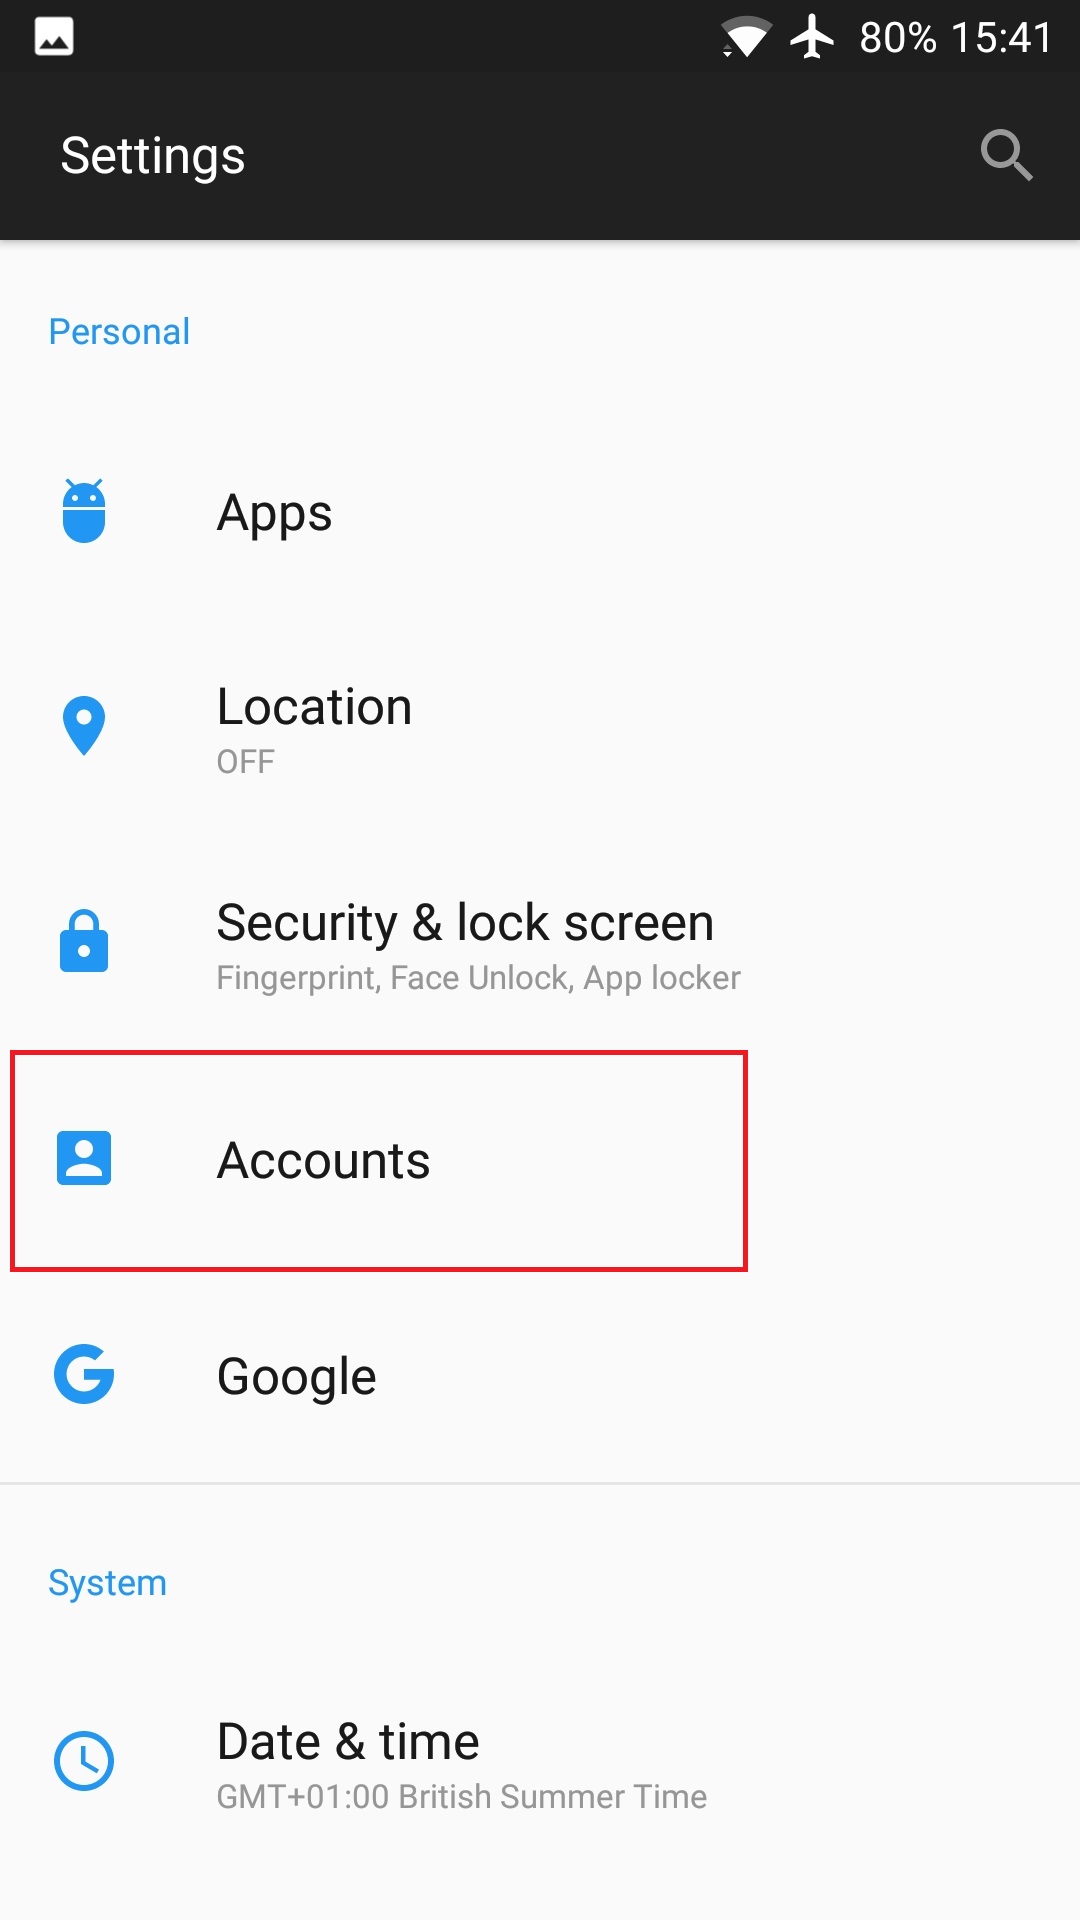
3. Tap on
Add Account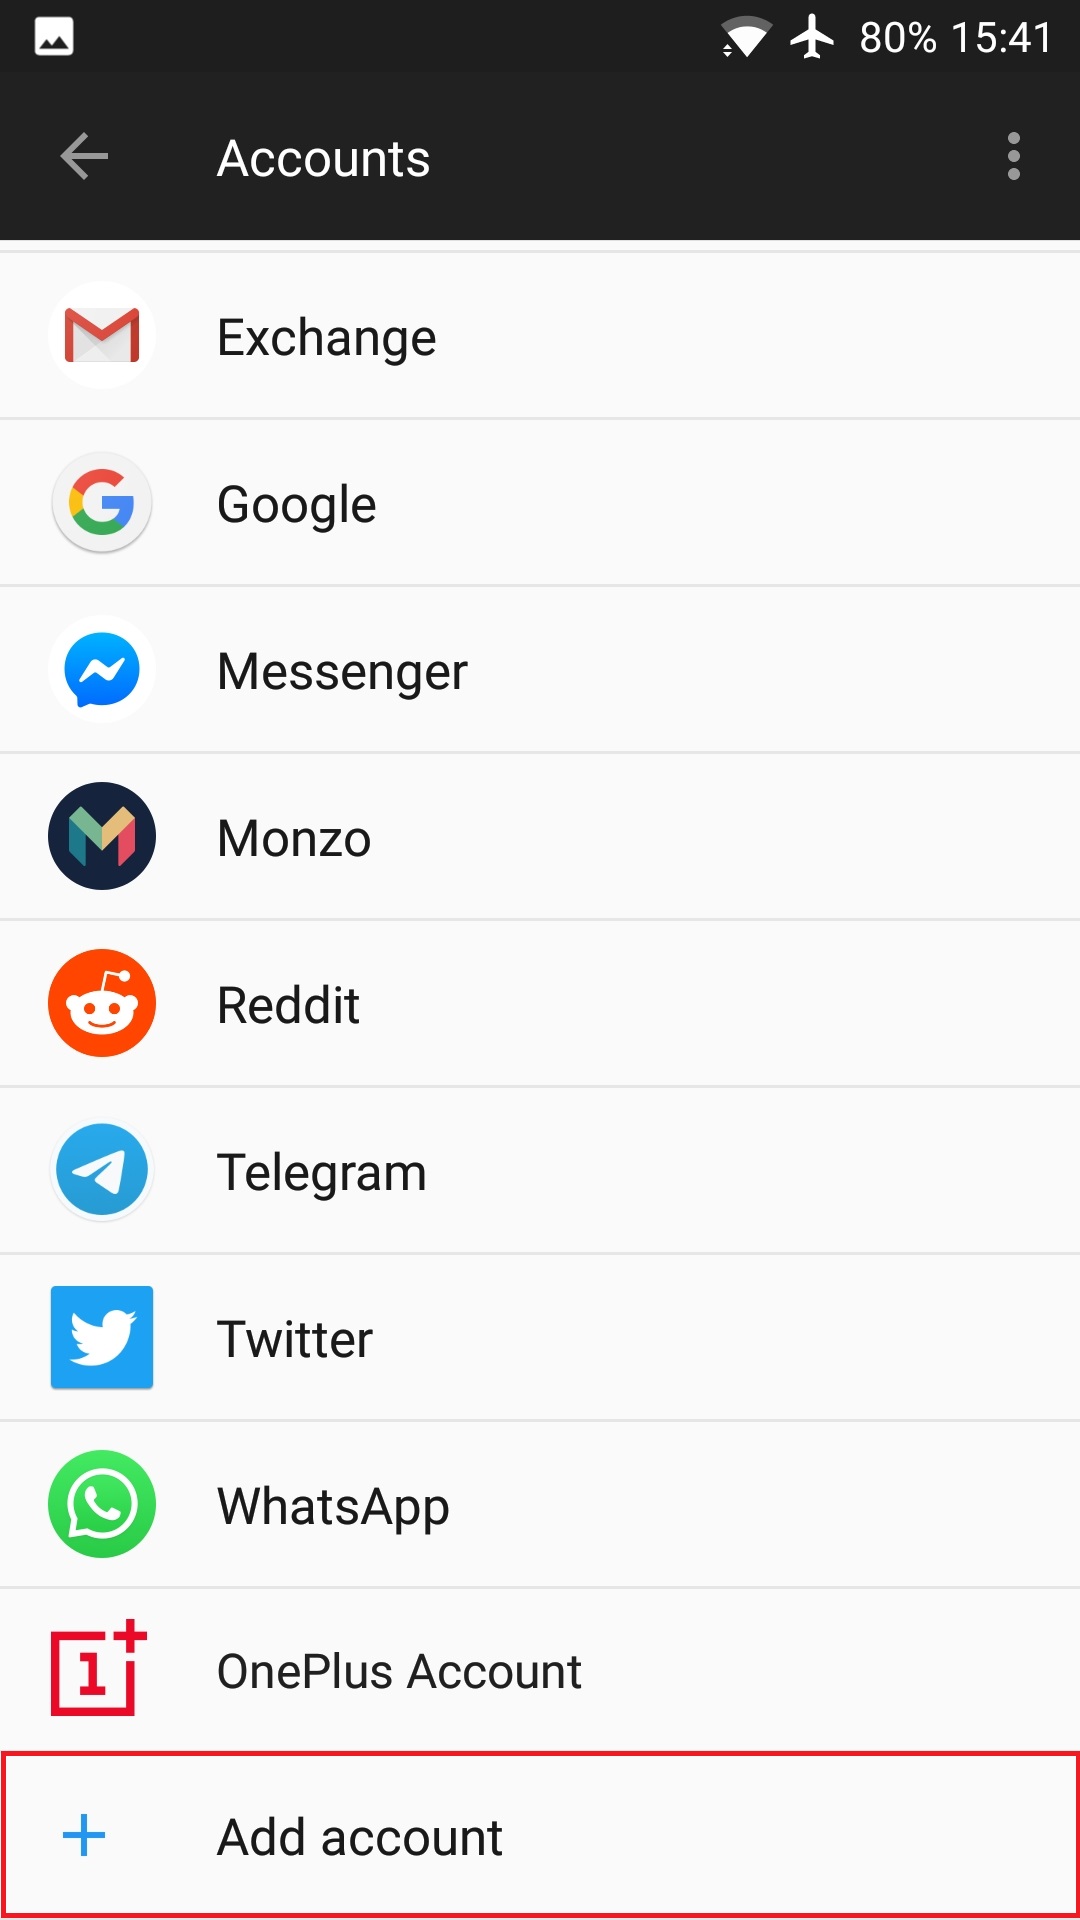
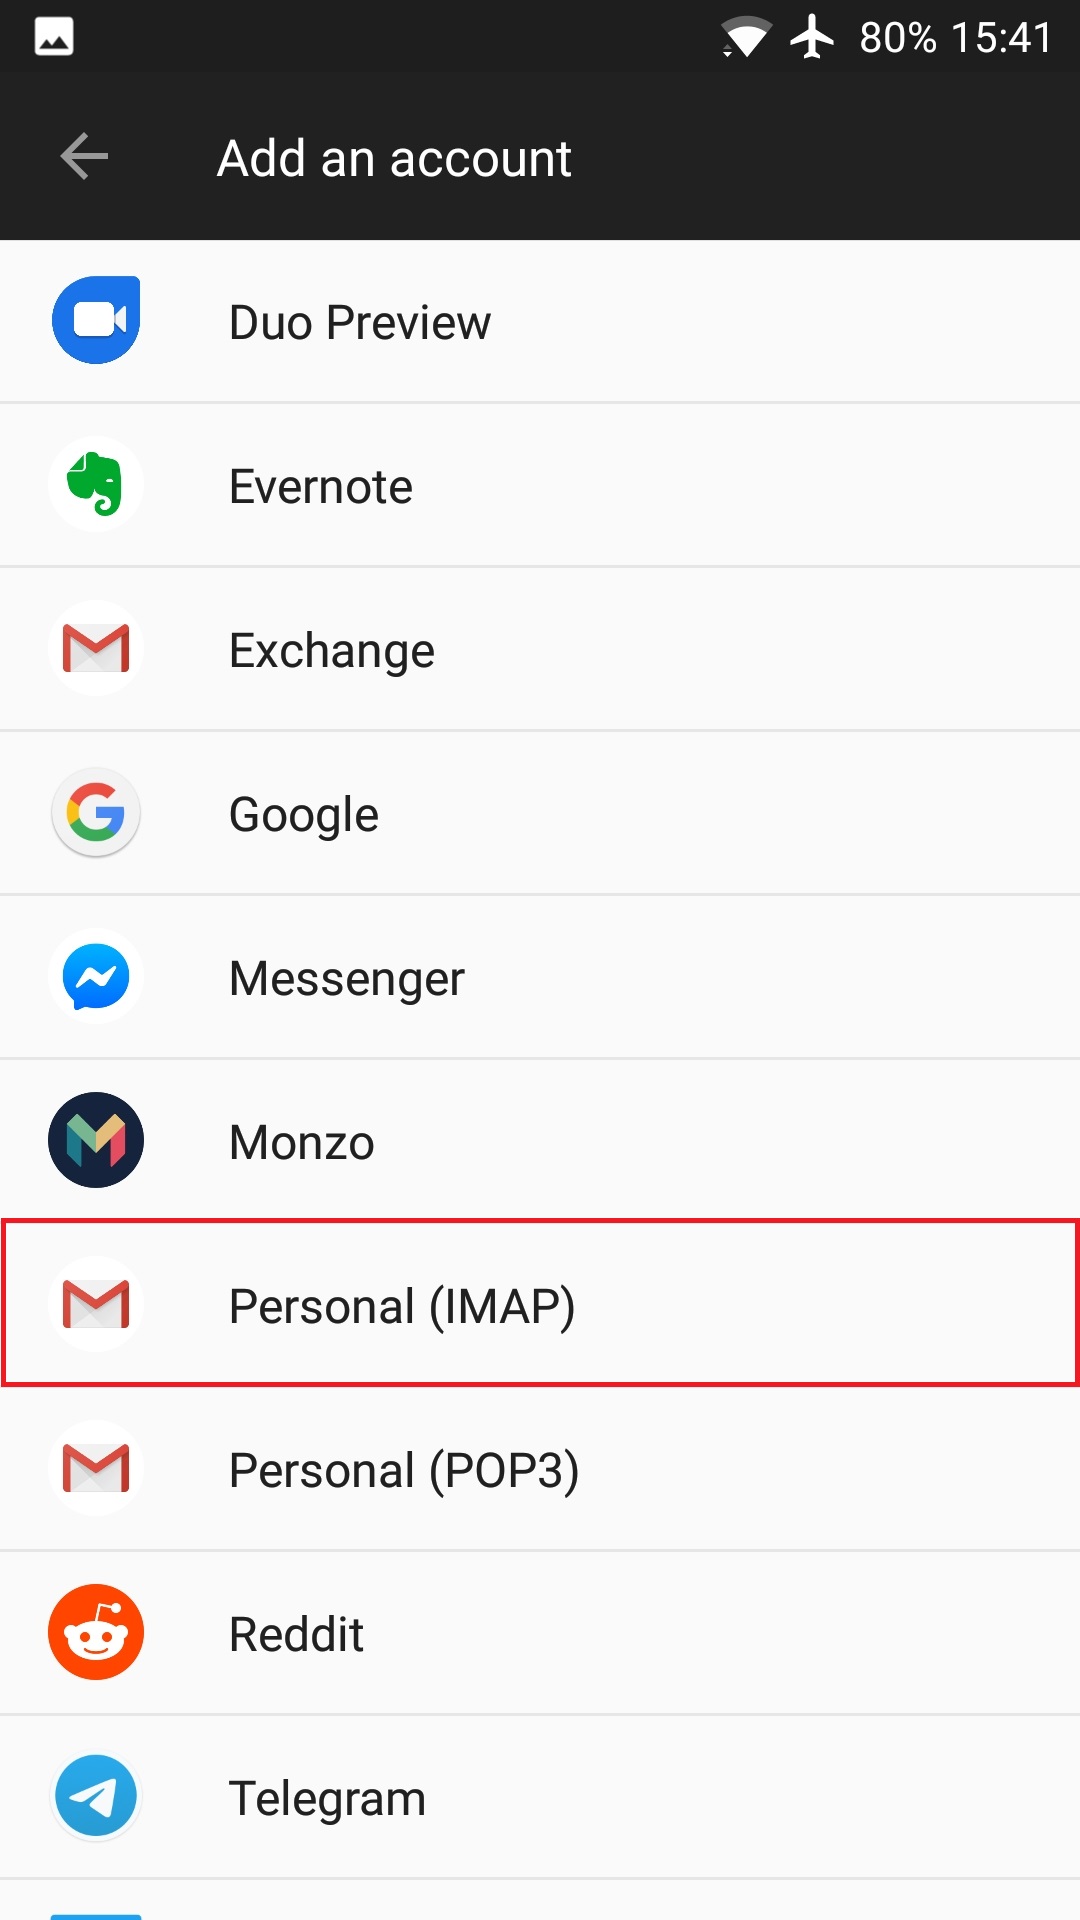
4. Tap
Personal (IMAP) from the account list
5. Enter in your
Email address and then click
Manual Setup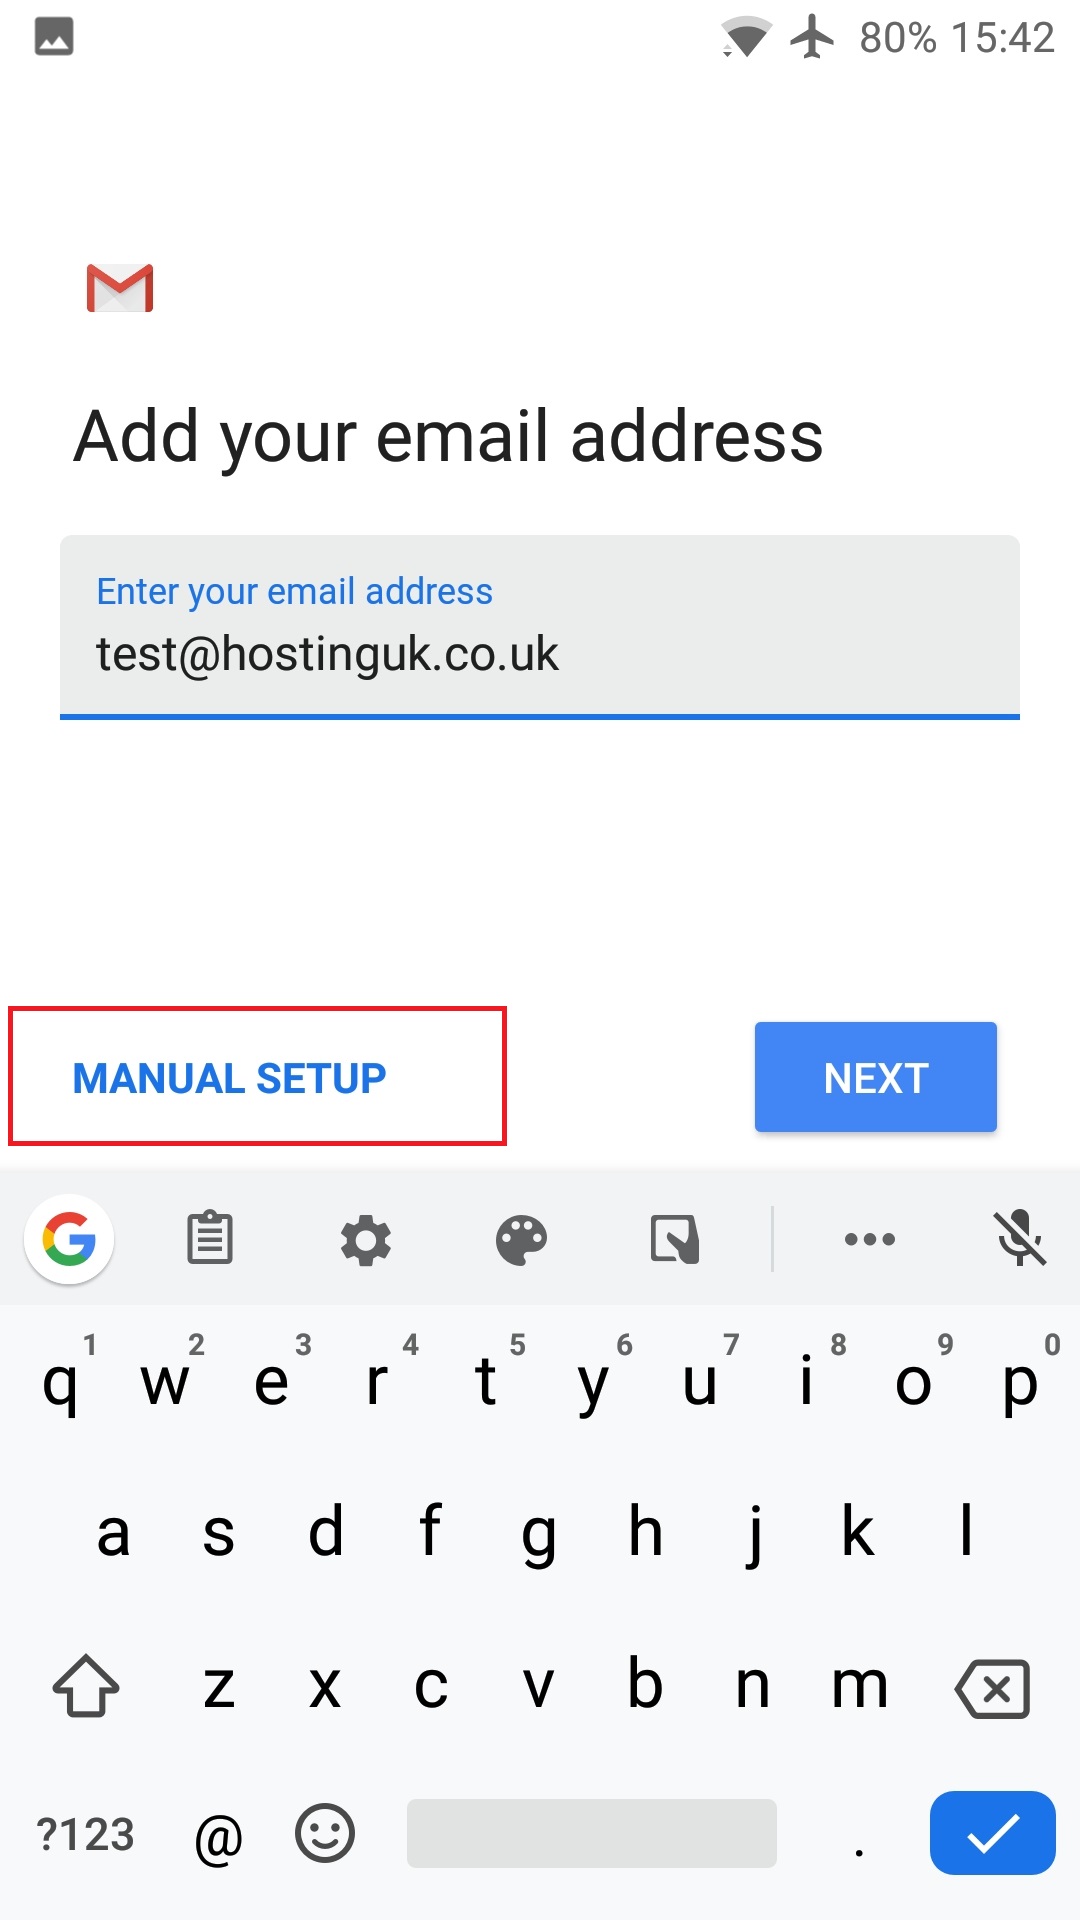
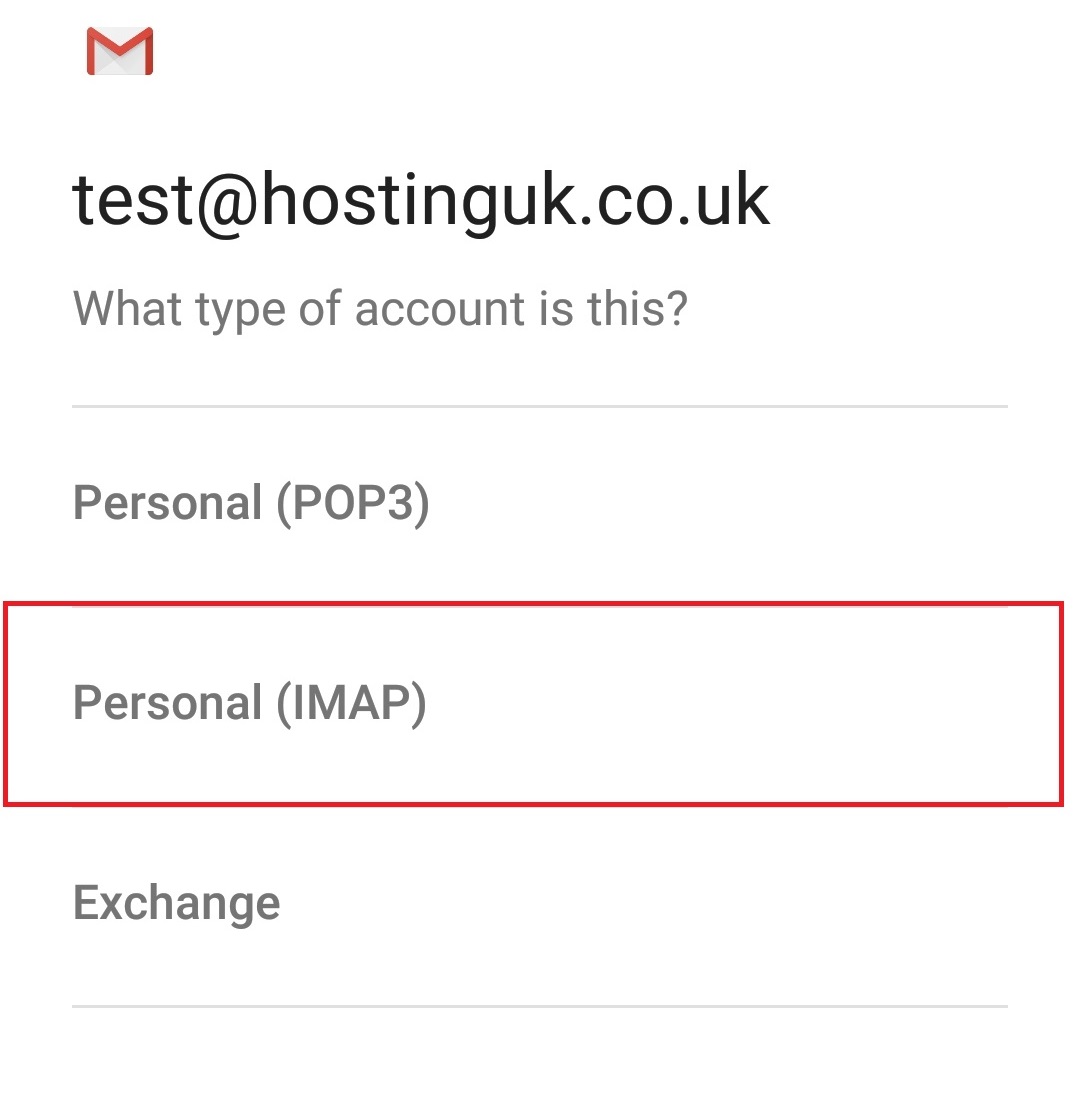
6. If Prompted again, select the Account type as
Personal (IMAP)
7. Enter in your password for your mail account and tap
Next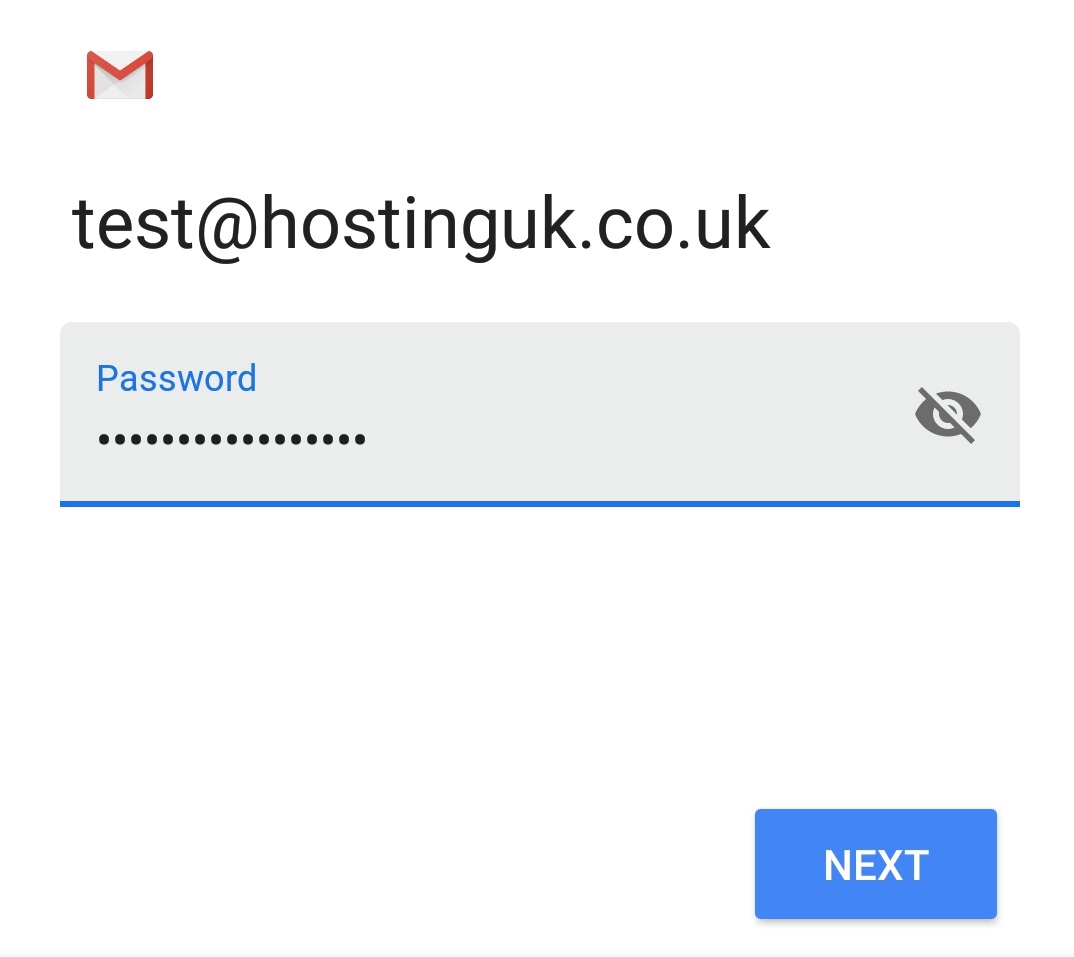
8. Check your email address and password appear ok and then enter in your
Server Address and tap
Next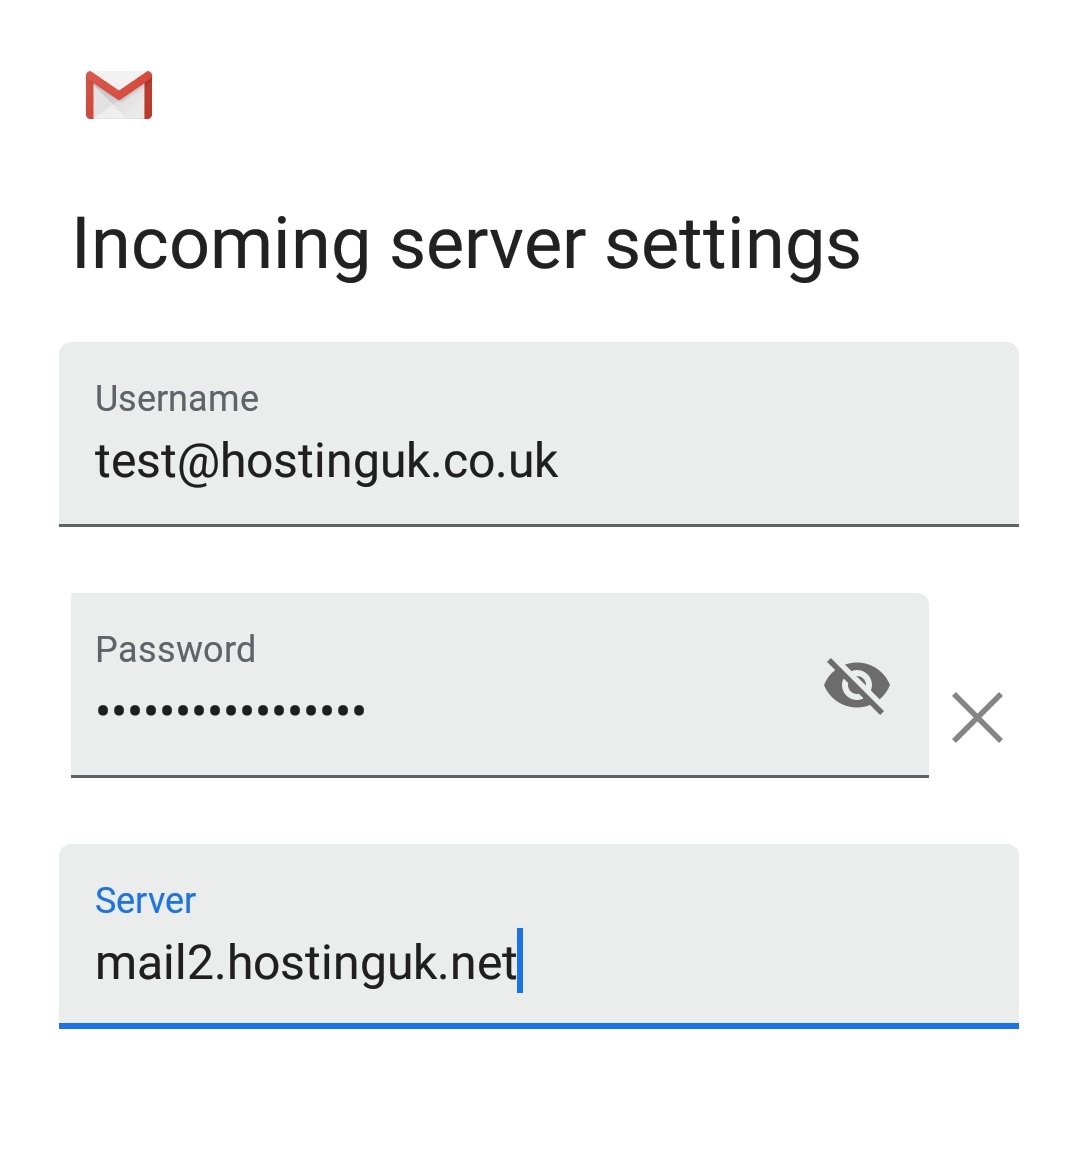
If you are Prompted for additional settings, here are the suggested Settings
Security:
SSL/TLS
Port:
9939. Perform the same check for the
Outgoing Settings and tap
Next
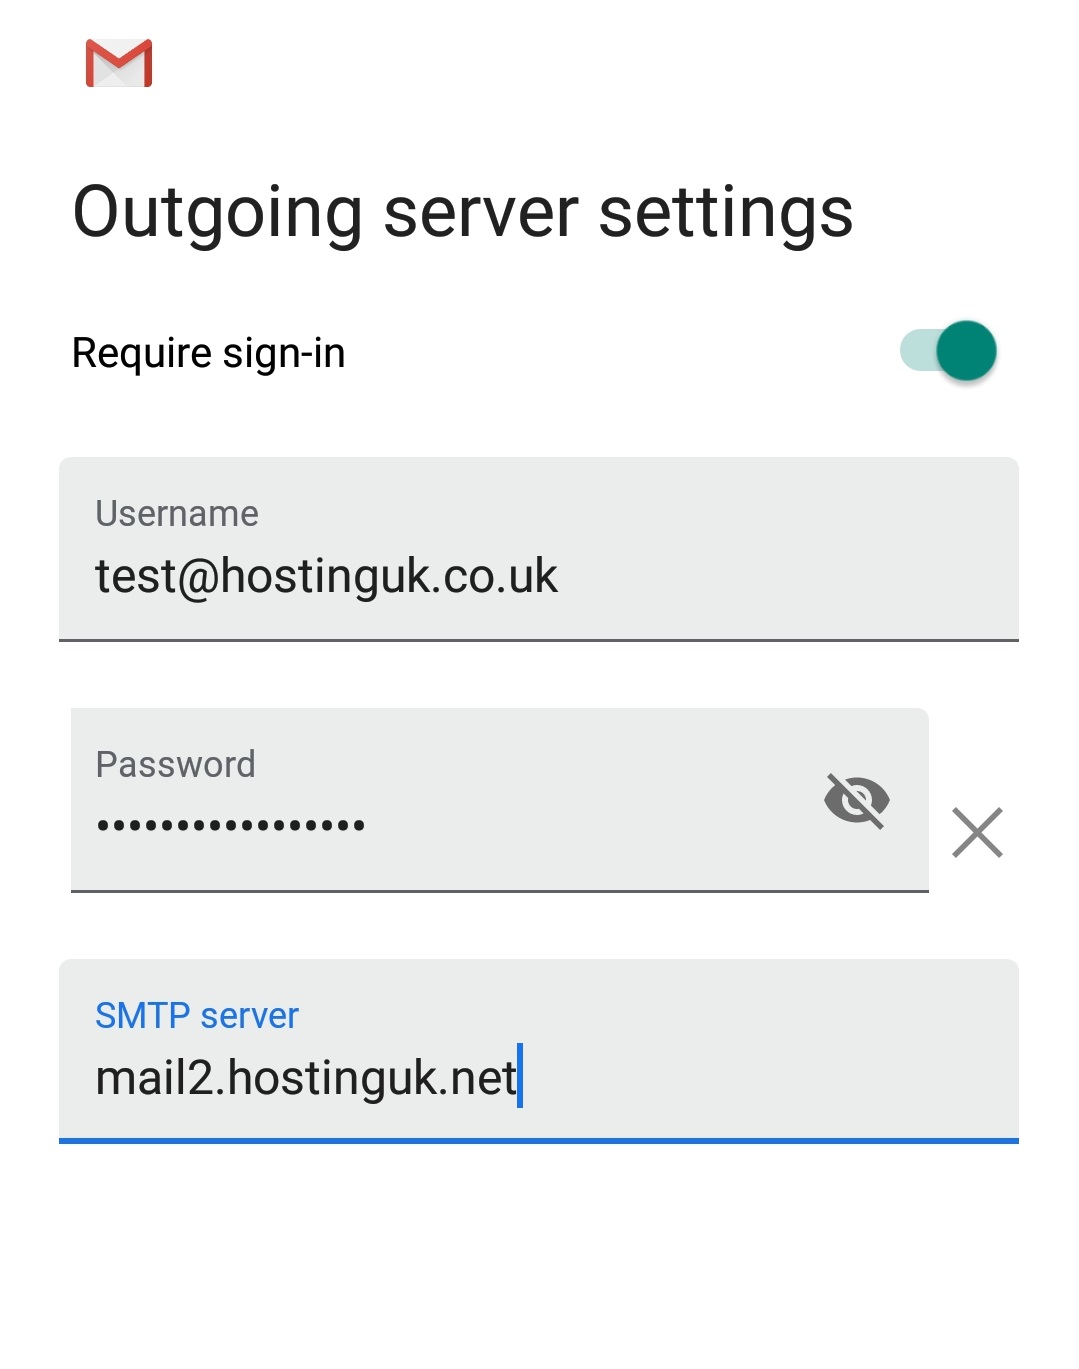
If you are Prompted for additional settings, here are the suggested Settings
Security:
SSL/TLS
Port:
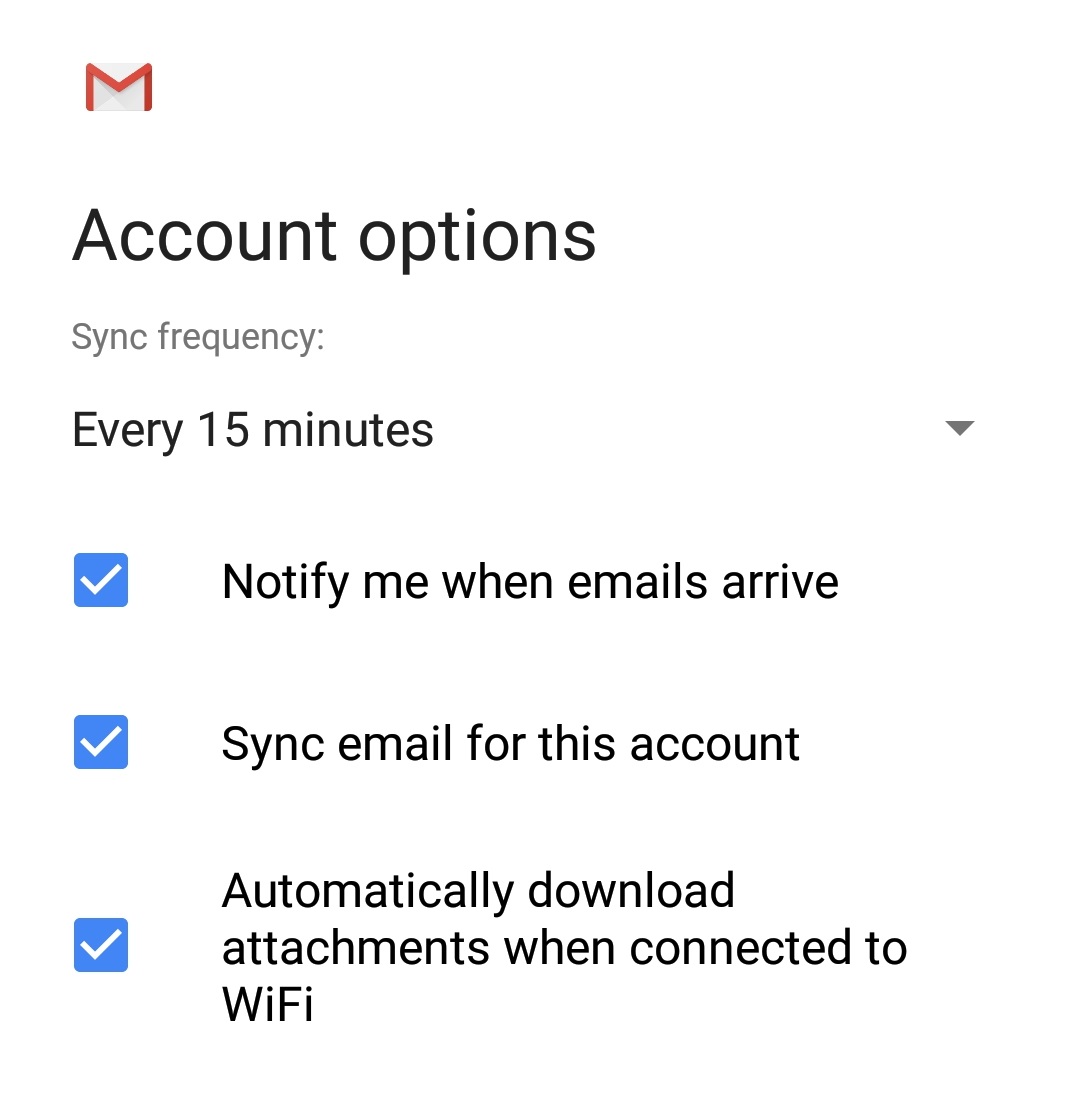
46510. Your device will ask you some additional options such as
Sync Frequency: How often you want your device to check for messages
Notify me when emails arrive: Tick if you would like your phone to alert you to new emails.
Sync Email for this account: If you would like this device so sync mail.
Automatically Download Attachments when connected to Wifi: Untick if you wish to download attachments to your device manually each time.
11. Give your account a
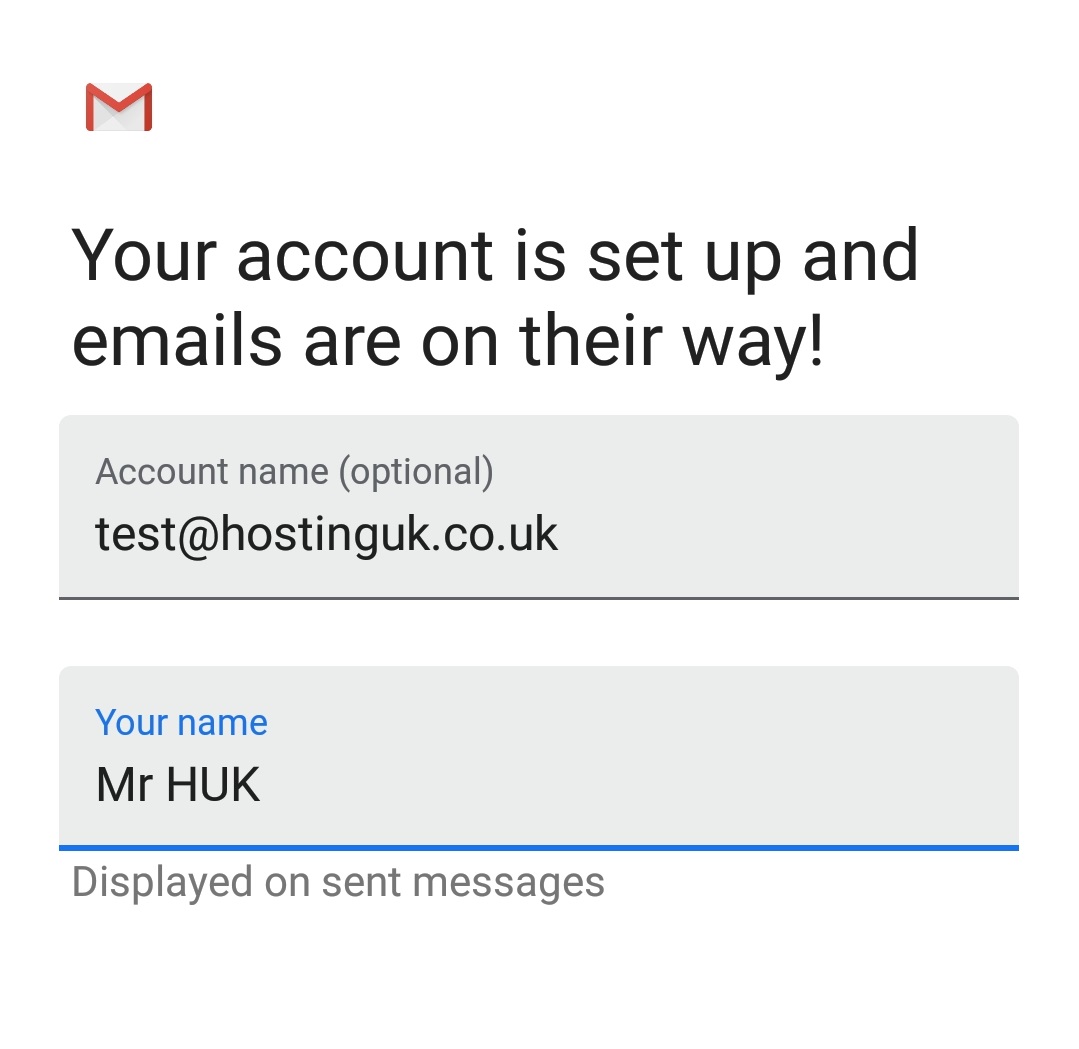
Name (device only)
and set Your name how you want it to appear on the email.
