To set up mail on your iPhone follow the steps below.
You will need your email address, password and mail server details.
In this example we'll be setting up mail for phil@mytestdomain.co.uk on the server mail5.hostinguk.net but your details will be different. Make sure you have your details ready.
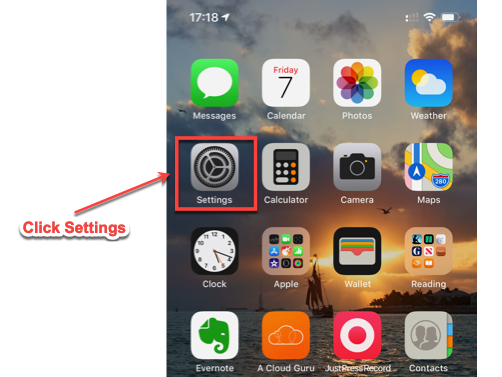
Step 1:Click the Settings Icon as shown below.
 Step 2:
Click Passwords & Accounts
 Step 3:
You may already have more than one account on your phone. Click "Add Account"
 Step 4:
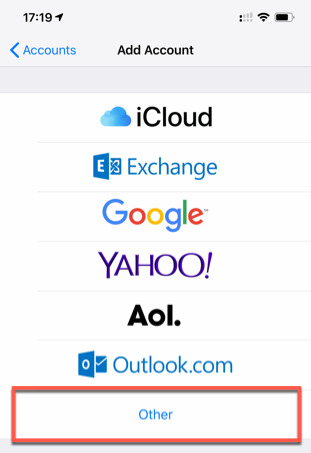
On the Add Account screen, click "Other"
 Step 5
Then click Add Mail Account.
 Step 6
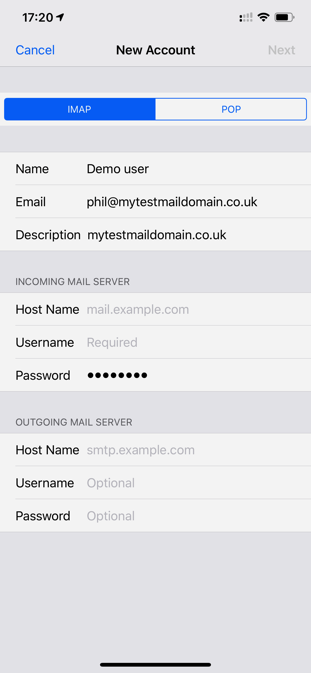
On the next screen enter your name, email address and password as shown in steps 1, 2 and 3. In the description field shown as 4 you can enter anything that helps you identify the account. In this example we've just put the domain name.
When you have done this, click the "Next" option.
 Step 7
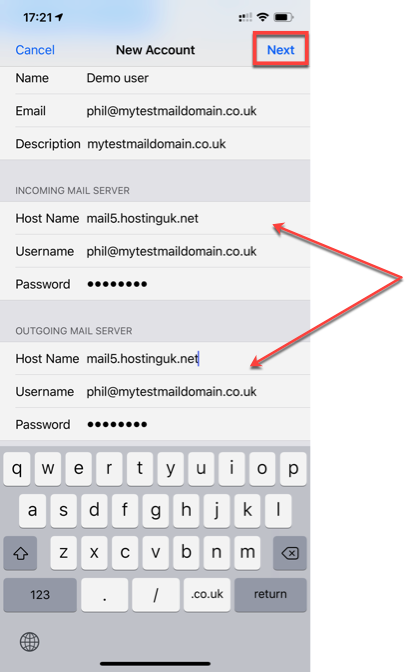
The next screen will need you to enter the details for the incoming and outgoing mail server.
 Step 8
Enter the mail server, in the host name field for both incoming and outgoing mail server. With these are normally the same.
For the username, enter the email address in full, and of course the password. Then click "Next"
 Step 9
Once you click next you'll see the account being verified.
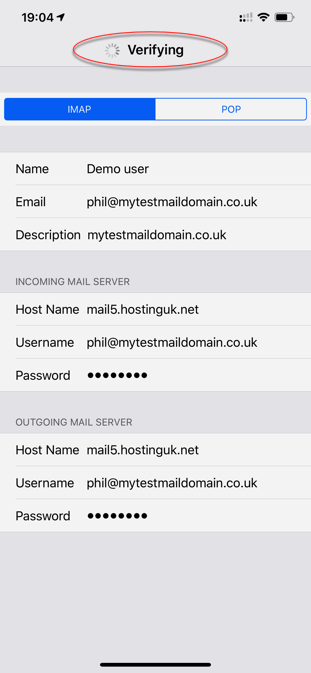
The next screen you should see is as below
Step 10:You can click to also synchronise Notes if that also appears. Then click "Save"
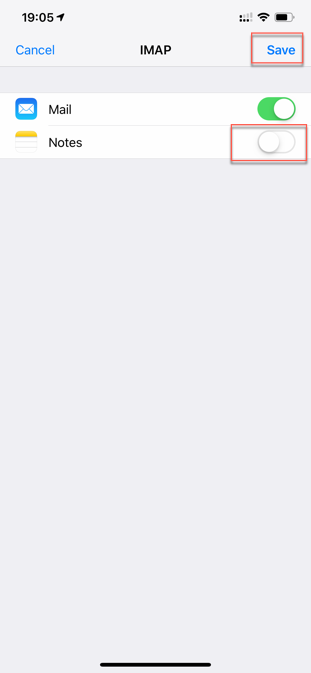
That's it. Your mail account is now set up and your mail will start synchronising.